


How to Shear an Alpaca: Expert Guide for 2026
As demand for alpaca products rises in 2026, proper shearing has become crucial for animal health and premium fibre quality. Did you know that over 90% of alpaca owners see better herd health and higher fleece value with annual professional shearing? Whether you are a hobbyist or a commercial breeder, learning how to shear an alpaca safely and humanely benefits both your animals and your business. This expert-backed guide will walk you through every step, from preparation and equipment to the shearing process, safety measures, and post-shearing care.
Understanding Alpaca Shearing: Why, When, and How Often
Learning how to shear an alpaca is vital for anyone caring for these remarkable animals. Shearing is not just about harvesting beautiful fleece, but also about ensuring alpaca health and comfort.
The Importance of Shearing for Alpaca Health and Comfort
If you want to know how to shear an alpaca responsibly, start by understanding its impact on wellbeing. Regular shearing keeps alpacas cool, preventing overheating in warm months. It also lowers the risk of skin infections and parasite infestations by removing dense, matted fibre.
Shearing helps maintain herd hygiene and reduces dangerous conditions like flystrike. Removing old fibre improves overall fleece quality for future harvests. Studies show that alpacas with annual shearing experience 35 percent fewer heat-related health issues, highlighting the clear welfare benefits.
Optimal Shearing Frequency and Timing
Knowing how to shear an alpaca means choosing the right time and frequency. Most alpacas are shorn once a year, usually in late spring or early summer. This timing protects them from both cold snaps and extreme heat.
Some regions may need adjustments based on local weather patterns. For example, Australian breeders often shear in October to ensure optimal fleece regrowth. Shearing too early or too late increases risks of cold or heat stress, so always consider your climate.
Shearing Methods: Professional vs. DIY
There are two main approaches to how to shear an alpaca: hiring a professional or doing it yourself. Professional shearers offer speed and expertise, making them ideal for larger herds. In the UK, the average cost is £20–£40 per alpaca. DIY shearing is suitable for small herds, but requires proper training and equipment.
Here’s a quick comparison:
| Method | Pros | Cons |
|---|---|---|
| Professional | Fast, skilled, less stress | Higher cost, scheduling |
| DIY | Cost-effective, flexible timing | Risk of mistakes, slower |
For guidance on timing, equipment, and best practices, see these Alpaca Shearing Best Practices.
Legal and Ethical Considerations
When learning how to shear an alpaca, always follow animal welfare regulations. These rules are in place to ensure humane handling and minimize stress or injury. Use gentle restraint and proper technique to keep both alpaca and handler safe.
Check your country’s livestock laws and ethical guidelines before shearing. Responsible shearing benefits both the animals and the quality of their valuable fleece.
Preparing for Shearing Day
Getting ready for alpaca shearing day is just as important as the shearing itself. Proper preparation ensures a smooth, safe, and efficient process for both the alpaca and the handlers. Whether you are a first timer or a seasoned breeder, understanding how to shear an alpaca starts with meticulous planning and the right setup.
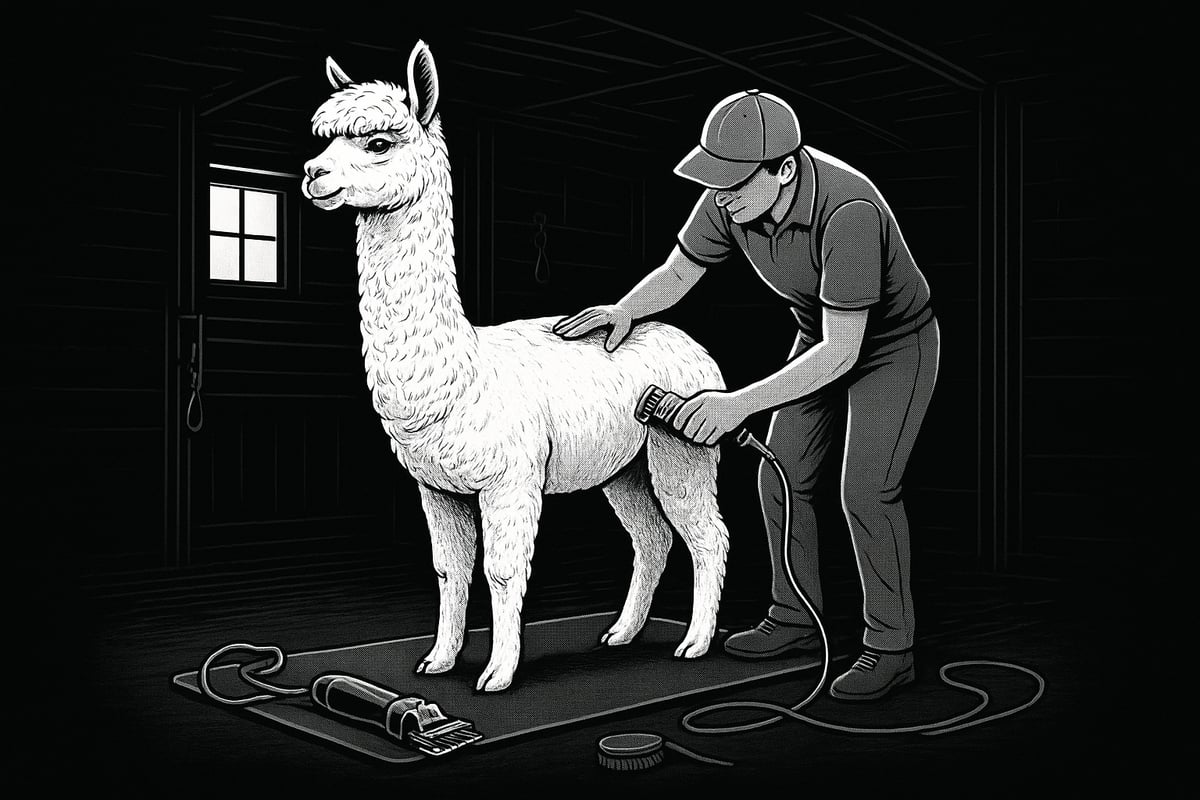
Assembling the Right Tools and Equipment
The first step in how to shear an alpaca is gathering all necessary tools. You will need electric clippers, sharp blades, combs, and sturdy scissors. Ancillary items like soft restraints, non-slip mats, brushes, and cleaning supplies are also essential. Always check that blades are clean and sharp, as dull blades can damage fibre and increase the risk of skin injury. Safety gear for handlers, such as gloves, protective clothing, and eye protection, is non-negotiable. For a detailed breakdown of tool selection and effective shearing practices, see these Alpaca Shearing Techniques. Having everything ready before you start is crucial for a successful shearing day.
Setting Up the Shearing Area
A clean, sheltered, and well-lit space is vital when planning how to shear an alpaca. Choose an indoor or shaded location to protect animals from the elements. The flooring should be non-slip to prevent injuries during shearing. Organize all equipment within easy reach, and ensure there is enough space for handlers to move safely. Prepare holding pens or gating to allow smooth animal flow to and from the shearing area. A tidy layout reduces stress for both alpacas and handlers, setting the stage for an efficient process.
Preparing the Alpaca
Before you begin how to shear an alpaca, withhold food for six to twelve hours to lower the risk of injury from sudden movements. Brush the alpaca thoroughly to remove dirt, debris, and tangles from the fleece. Conduct a close inspection, looking for any skin issues or injuries that need attention before shearing. Treat any problems right away, as pre-shearing checks can reduce accidental cuts by 15 percent. Clean, well-prepared alpacas are easier and safer to shear, resulting in higher-quality fleece.
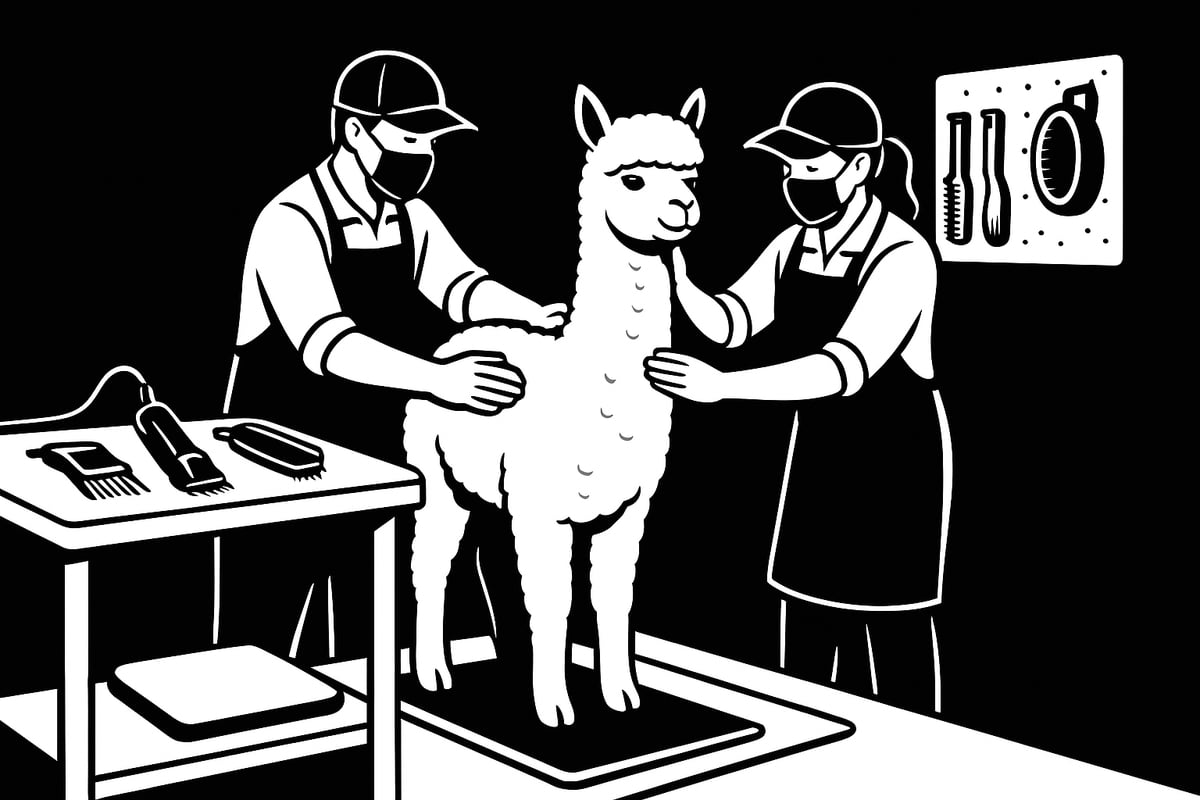
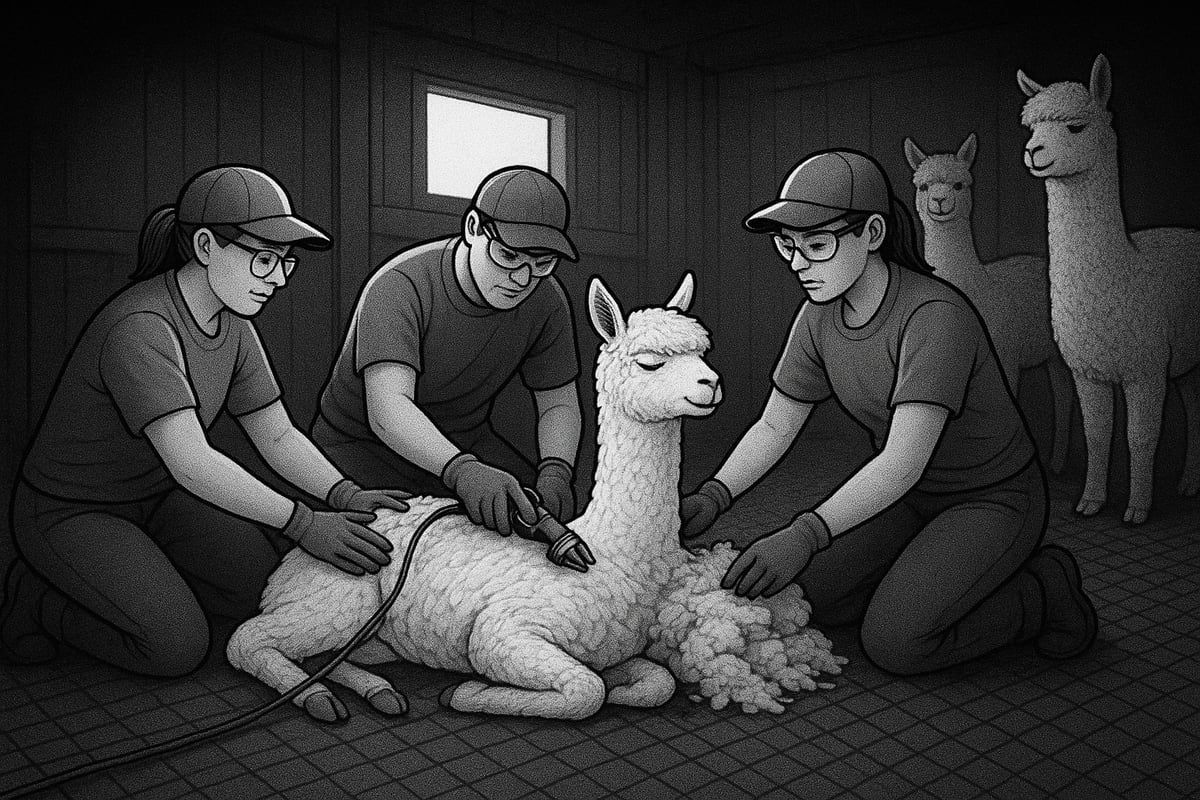
Assembling Your Shearing Team
Teamwork is essential for how to shear an alpaca safely and efficiently. Assign clear roles: the shearer focuses on the fleece, the handler keeps the alpaca calm and steady, the record-keeper tracks animal data, and the fleece collector manages the wool. Even small herds benefit from extra hands, especially when animals are nervous. Brief your team on safety protocols and maintain open communication throughout the process. Well-trained teams reduce mistakes and help everything run smoothly.
Managing Stress and Safety
Managing animal stress is a critical aspect of how to shear an alpaca. Calm alpacas are less likely to be injured or to injure handlers. Use gentle handling, soft halters, or light restraints to keep animals comfortable. Monitor vital signs and watch for signs of distress, such as vocalizing or rapid breathing. Keep a first aid kit nearby, and ensure the environment stays quiet and controlled. These steps not only protect your alpacas but also make the shearing experience safer for everyone involved.
Step-by-Step Guide: How to Shear an Alpaca Safely
Learning how to shear an alpaca is a practical skill that benefits both animal and owner. By following a clear, step-by-step approach, you can ensure a safe, humane, and efficient shearing experience. Let’s break down each stage of the process, so you can confidently handle shearing day, whether you’re a new hobbyist or a seasoned breeder.
Step 1: Secure and Position the Alpaca
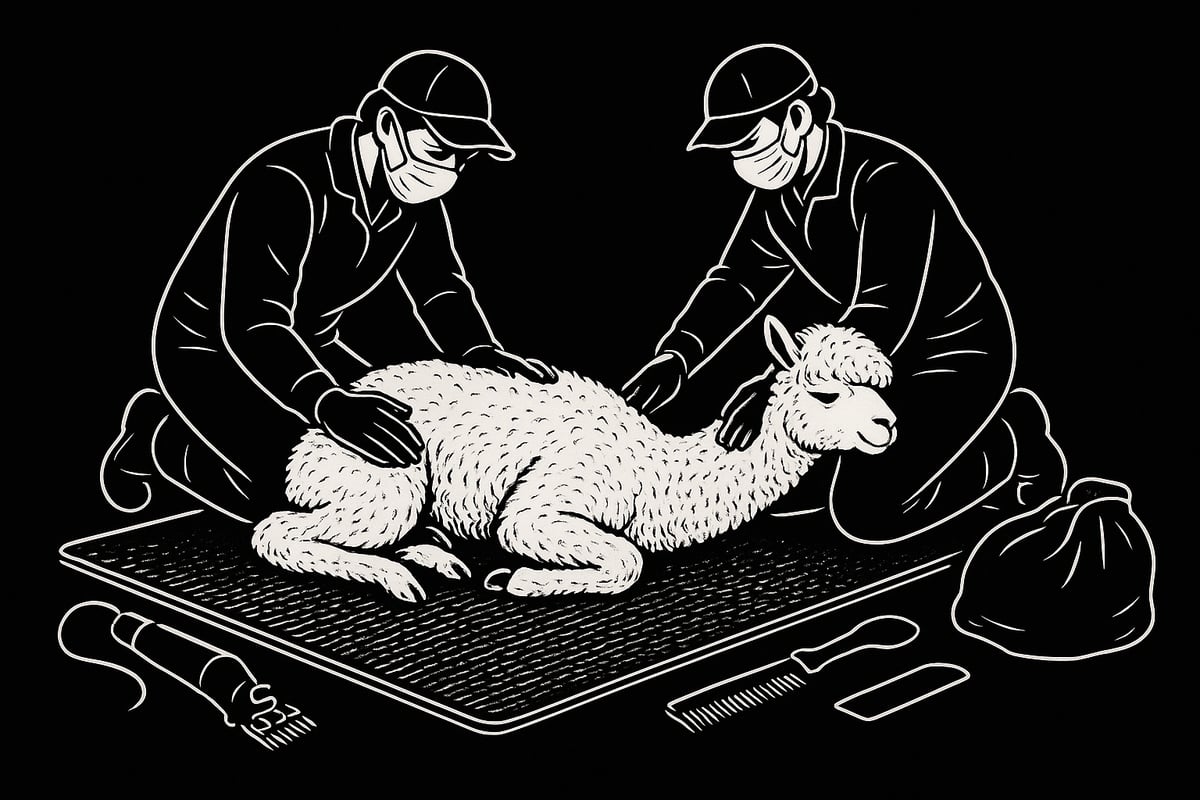
The first step in how to shear an alpaca is to safely secure and position the animal. Begin by fitting the alpaca with a well-adjusted halter. Gently guide the animal to the shearing area, keeping your movements calm and quiet. Most shearers recommend laying the alpaca on its side, which provides optimal access and reduces the risk of sudden movements.
Use a gentle restraint system or soft ropes to position the limbs, ensuring they’re comfortably extended but not overstretched. This minimizes muscle strain and helps protect sensitive joints. Place a non-slip mat underneath to prevent injuries from slipping.
Teamwork is essential here. One person should focus on holding the head and offering reassurance, while another manages the body and limbs. Monitoring the alpaca’s breathing and behavior is crucial. If the animal shows signs of distress, such as rapid breathing or excessive vocalization, pause and allow it to settle.
Research has shown that proper restraint and calm handling dramatically reduce stress during shearing. For more on these techniques, see Stress Reduction During Shearing.
Step 2: Shearing the Blanket (Prime Fleece)
Once the alpaca is positioned, the next step in how to shear an alpaca is to start with the blanket, which is the highest quality fleece covering the back and sides. Using clean, sharp electric clippers, begin shearing with long, smooth strokes that run parallel to the body. This technique helps maintain the maximum fibre length and reduces second cuts, which can lower fleece value.
Bag the blanket fleece immediately after removal to prevent contamination with dirt or coarse fibres from other body parts. Label the bag by animal and date for easy tracking later. Remember, the blanket typically makes up 60 to 75 percent of the total fleece yield, so handle it with care.
Keep the shearing surface clean and clear away any loose debris between animals. A well-organized workflow ensures that each step is efficient and minimizes the chance of mistakes. Consistent technique across your herd will help standardize fleece quality and maximize returns.
Step 3: Shearing the Neck and Legs
The third step in how to shear an alpaca is to move to the neck and legs. These areas require extra caution, as the skin is thinner and more likely to form folds, especially around joints. Switch to smaller, finer blades for better control and to avoid accidental nicks.
Shear the neck in long, gentle strokes, watching for any skin irregularities or parasites. For the legs, work slowly and support each limb as needed, keeping the alpaca relaxed. Neck and leg fibre is generally shorter and coarser, so it’s best to collect and store it separately from the blanket.
If you find mats or tangles, use scissors to carefully snip them out before using clippers. Maintain a calm environment throughout this step. Having a handler provide gentle reassurance can make a big difference in the animal’s comfort and cooperation.
Step 4: Shearing the Belly and Remaining Areas
Now it’s time to address the belly, chest, and tail. This part of how to shear an alpaca requires patience, as these areas can be more sensitive and difficult to access. Shear these regions last, working carefully to avoid the alpaca’s teats, genitals, and any bony prominences.
Dirty or coarse fibre from the belly and tail should be removed and stored separately, as it’s less valuable for spinning or weaving. If you encounter any particularly stubborn or soiled spots, pause to clean the area or use scissors as needed.
Throughout this step, continually check the alpaca’s comfort level. Offer short breaks if needed, especially for young or nervous animals. A smooth, methodical approach ensures that fleece quality is preserved and the animal’s wellbeing is prioritized.
Step 5: Inspecting for Injuries and Immediate Aftercare
Once you’ve finished, the next part of how to shear an alpaca is to thoroughly inspect the animal for any skin injuries, abrasions, or parasites. Minor nicks can happen even with the best technique, so keep antiseptic spray and clean cloths on hand for immediate treatment.
Let the alpaca stand up slowly, supporting it if necessary. Watch for signs of dizziness, stress, or shock. Provide access to shade and fresh water right away. If you notice any abnormal behavior or persistent bleeding, contact a veterinarian for further guidance.
Record basic details about the animal, such as fleece yield, body condition, and any injuries. This information will help you refine your shearing process and improve animal care in future sessions.
Expert Tips for Efficient Shearing
Mastering how to shear an alpaca involves attention to detail and ongoing practice. Here are some expert tips to enhance safety and efficiency:
- Always keep clipper blades cool and clean to prevent burns and infection.
- Work in pairs or small teams to manage animals calmly and quickly.
- Maintain a quiet, organized environment to reduce stress for both alpacas and handlers.
- Use proper safety gear, including gloves and eye protection, especially when working with electric tools.
- Professional shearers can typically complete a session in 7 to 10 minutes per alpaca, but don’t rush if you’re still learning.
A well-executed shearing day leaves your herd healthier and your fleece in top condition. With each season, your understanding of how to shear an alpaca will grow, making the process smoother and more rewarding for everyone involved.
Ensuring Alpaca Safety and Wellbeing During Shearing
Shearing is not just about collecting fleece—it is about caring for your animals. When learning how to shear an alpaca, prioritizing safety and wellbeing is essential. A calm environment, careful handling, and thoughtful post-shearing attention all contribute to a positive experience for both alpacas and handlers.
Minimizing Stress and Discomfort
Minimizing anxiety is crucial when considering how to shear an alpaca. Gentle handling, quiet voices, and slow, deliberate movements help keep alpacas calm. Avoid sudden noises or rough restraint. For particularly nervous or young animals, allow short breaks during shearing.
Look for these signs of distress:
- Vocalizing or humming loudly
- Excessive struggling or movement
- Rapid breathing or wide eyes
If you notice any of these, pause and allow the alpaca to settle. Using a halter or gentle restraint can help, but never force an animal into position. Stress-minimizing protocols, such as soft mats and dim lighting, have been shown to reduce injury rates by 25 percent. Remember, a calm alpaca means a safer, smoother shearing for everyone.
Preventing Injuries to Alpacas and Handlers
Safety is a shared responsibility. When planning how to shear an alpaca, make sure both the animal and handlers are protected. Use non-slip mats to prevent slipping, and position the alpaca’s legs gently to avoid sprains or joint injuries. Always use sharp, clean blades to minimize skin nicks.
Handlers should wear:
- Gloves to protect from accidental cuts
- Protective clothing and closed-toe shoes
- Eye protection when using electric clippers
Be aware of alpaca body language. If an animal tenses or kicks, adjust your approach. Keep a first aid kit nearby for quick response to minor injuries. Team communication is key—work together and stay alert to prevent accidents.
Managing Environmental Factors
The environment plays a big role in how to shear an alpaca safely. Choose a sheltered, well-ventilated area to avoid temperature extremes. Shearing in hot or cold weather puts alpacas at risk of shock or hypothermia.
Best practices include:
- Providing shade and fresh water
- Avoiding direct sun or drafty spaces
- Using fans or heaters as needed
Monitor the temperature in your shearing area and adjust your timing if necessary. Clean, dry flooring helps prevent infection and keeps fleece uncontaminated. After shearing, keep alpacas away from rough terrain or aggressive herd mates to avoid accidental injuries.
Post-Shearing Monitoring
After learning how to shear an alpaca, ongoing care is vital. Watch for signs of shock, sunburn, or unusual behavior. Apply fly repellent if needed, especially in warm climates. Light-colored alpacas may need sunscreen or a light blanket to prevent sunburn.
Keep newly sheared alpacas in a safe, shaded area for a few days. Observe them closely for:
- Lethargy or refusal to eat
- Open wounds or skin irritation
- Excessive scratching or rubbing
For more information on ethical and humane shearing, review the Responsible Alpaca Standard for best practices. Taking these steps ensures your alpacas recover quickly and stay healthy after every shearing.
Post-Shearing Care and Fleece Management
After learning how to shear an alpaca, the job is not quite finished. Proper post-shearing care ensures alpacas stay healthy and comfortable, while smart fleece management preserves fibre quality and value. Let us break down the essentials for both your animals and their fleece.
Immediate Aftercare for Alpacas
Right after you finish how to shear an alpaca, keep a close eye on each animal. Watch for signs of stress like rapid breathing or unusual behavior. Gently check their skin for cuts, scrapes, or irritation.
Provide plenty of shade and shelter, as alpacas without their fleece are vulnerable to sunburn and temperature changes. Light-colored alpacas are especially at risk, so consider using animal-safe sunscreen or a light blanket for extra protection.
Ensure alpacas have access to fresh water and a quiet space to recover. Avoid rough terrain or mixing newly shorn animals with more dominant herd members until they are fully settled.
- Monitor for abnormal behavior or injury
- Offer shelter and shade
- Protect against sunburn
- Provide fresh water
By following these steps, you help alpacas stay comfortable and healthy after you have learned how to shear an alpaca.
Managing and Storing Alpaca Fleece
Handling fleece properly after you learn how to shear an alpaca makes a big difference in quality and value. Start by sorting fleece into categories: blanket (prime), neck, legs, and belly. The blanket offers the finest fibre, ideal for premium products.
Here is a simple table for grading:
| Fleece Area | Quality | Use Example |
|---|---|---|
| Blanket | Prime | Garments, yarn |
| Neck | Good | Knits, blends |
| Legs/Belly | Coarse | Felt, insulation |
Clean fleece by gently removing debris and second cuts. Skirt the edges to discard low-quality fibre. For storage, use breathable bags and keep fleece in a cool, dry place. Well-stored fleece can retain up to 95 percent of its value for a year.
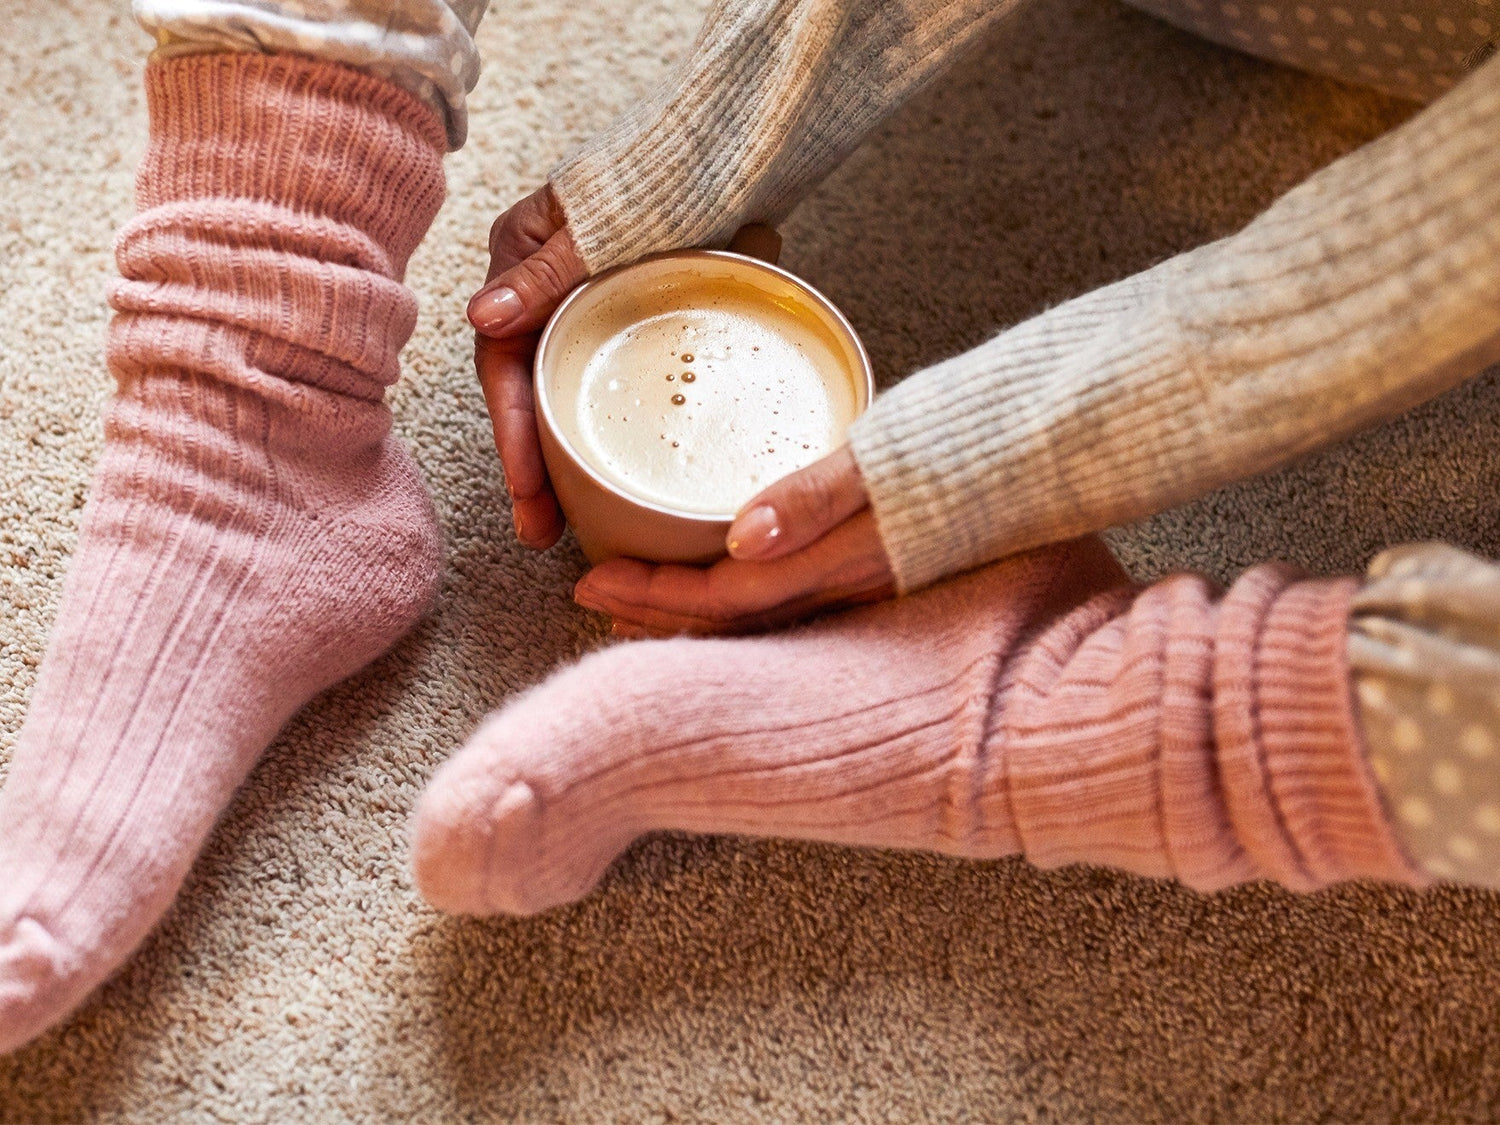
If you are curious about what happens next, explore how our socks are made to see the journey from raw fleece to finished products.
Preparing Fleece for Sale or Processing
Now that you have mastered how to shear an alpaca and sorted the fleece, documentation is key. Label each bag with the alpaca’s name, shearing date, and fleece grade. This helps buyers and processors track quality and origin.
Consider these processing options:
- Spinning for yarn
- Felting for crafts
- Weaving into textiles
Connecting with local fibre mills or joining a cooperative can open doors for better prices and community support. Many breeders sell to specialty producers who value traceable, well-managed fleece.
Interested in the final products? Discover the benefits of alpaca socks made from high-quality fleece, which highlight the importance of good shearing and storage.
Common Issues and Troubleshooting
Even with the best approach to how to shear an alpaca, challenges can pop up. Fleece contamination, matting, or skin irritation may occur. If fleece is dirty or tangled, carefully clean and separate it as soon as possible.
For minor skin wounds, use an antiseptic and monitor healing. Persistent irritation or deep cuts warrant a call to your veterinarian.
Key troubleshooting tips:
- Remove debris before storage to prevent mold
- Treat wounds promptly to avoid infection
- Consult a vet for ongoing skin problems
With careful aftercare and attention to fleece management, your hard work in learning how to shear an alpaca pays off in healthier animals and higher-quality fibre.
Advanced Tips and Innovations in Alpaca Shearing (2026 Update)
The world of alpaca shearing is evolving quickly. As technology and best practices advance, knowing how to shear an alpaca efficiently and ethically is more important than ever. Staying up to date with the latest tools, training, and trends ensures both animal welfare and top-quality fleece.
Emerging Tools and Technology
Recent years have brought impressive innovations to alpaca shearing equipment. Modern electric shears are now lighter, quieter, and more ergonomic, reducing fatigue for handlers and stress for alpacas. Digital tracking devices help record fleece yield and quality, letting breeders analyze results over time. New restraint systems prioritize comfort and safety for the animals. These advances not only make it easier to learn how to shear an alpaca, but also improve the overall fleece quality. For example, better shearing tools directly benefit end products like quality socks from alpaca fibre, ensuring a softer, more durable result.
Training and Certification for Shearers
Professional training is now more accessible through online courses and in-person workshops. Certification programs teach safe, humane shearing and efficient workflow. If you want to learn how to shear an alpaca at a commercial level, certification can open new opportunities. Certified shearers consistently report higher fleece yields and improved animal wellbeing. For hobbyists, these resources provide step-by-step guidance and troubleshooting tips, making the process less intimidating.
Sustainable and Ethical Shearing Practices
Sustainability is at the forefront of modern shearing. Shearers are adopting practices that minimize waste, such as careful fleece sorting and eco-friendly cleaning methods. Ethical protocols focus on gentle handling and reducing animal stress throughout the process. If you’re learning how to shear an alpaca, consider joining local fibre cooperatives or animal welfare initiatives. These groups share resources and foster a community dedicated to responsible alpaca care.
Industry Trends and Future Outlook
Alpaca fibre is enjoying rising demand, especially for traceable, premium products. Climate change is influencing when and how to shear an alpaca, as breeders adapt to shifting weather patterns. Fibre cooperatives are growing, enabling direct-to-consumer sales and better profit margins for small breeders. The table below summarizes current industry shifts:
| Trend | 2020 | 2026 Update |
|---|---|---|
| Fibre Demand | Moderate | High |
| Tech Adoption | Low | Widespread |
| Certification | Limited | Commonplace |
| Sustainability Focus | Emerging | Mainstream |
Staying informed and adaptable ensures you get the most from each shearing season.